Meyer Lemon Tart
- Stacey Boocher

- Feb 4, 2022
- 6 min read

Okay seriously, do you think Claire went home and cried when things on Gourmet Makes didn’t turn out, or did she cry in the bathroom after they were done filming for the day? I’m only asking because after not one, not two, but THREE attempts at the Meyer Lemon Tart, I only have more respect for her sheer baking strength.
I was so excited to make this dessert. It is arguably one of the most beautiful, vibrant recipes in all of Dessert Person. And when taken at face value, the directions seem very simple—it’s when you read the fine print that you realize this tart has a dark side behind its gorgeous lemon complexion. By fine print, I mean the parts in the ingredients when you need to turn to the back of the book to make certain components of the dessert. For the Meyer Lemon Tart, the fine print included the Lemon Curd on page 330 and the Sweet Tart Dough on page 338. All I really needed to buy for all these recipes was a bag of lemons before taking all this on.
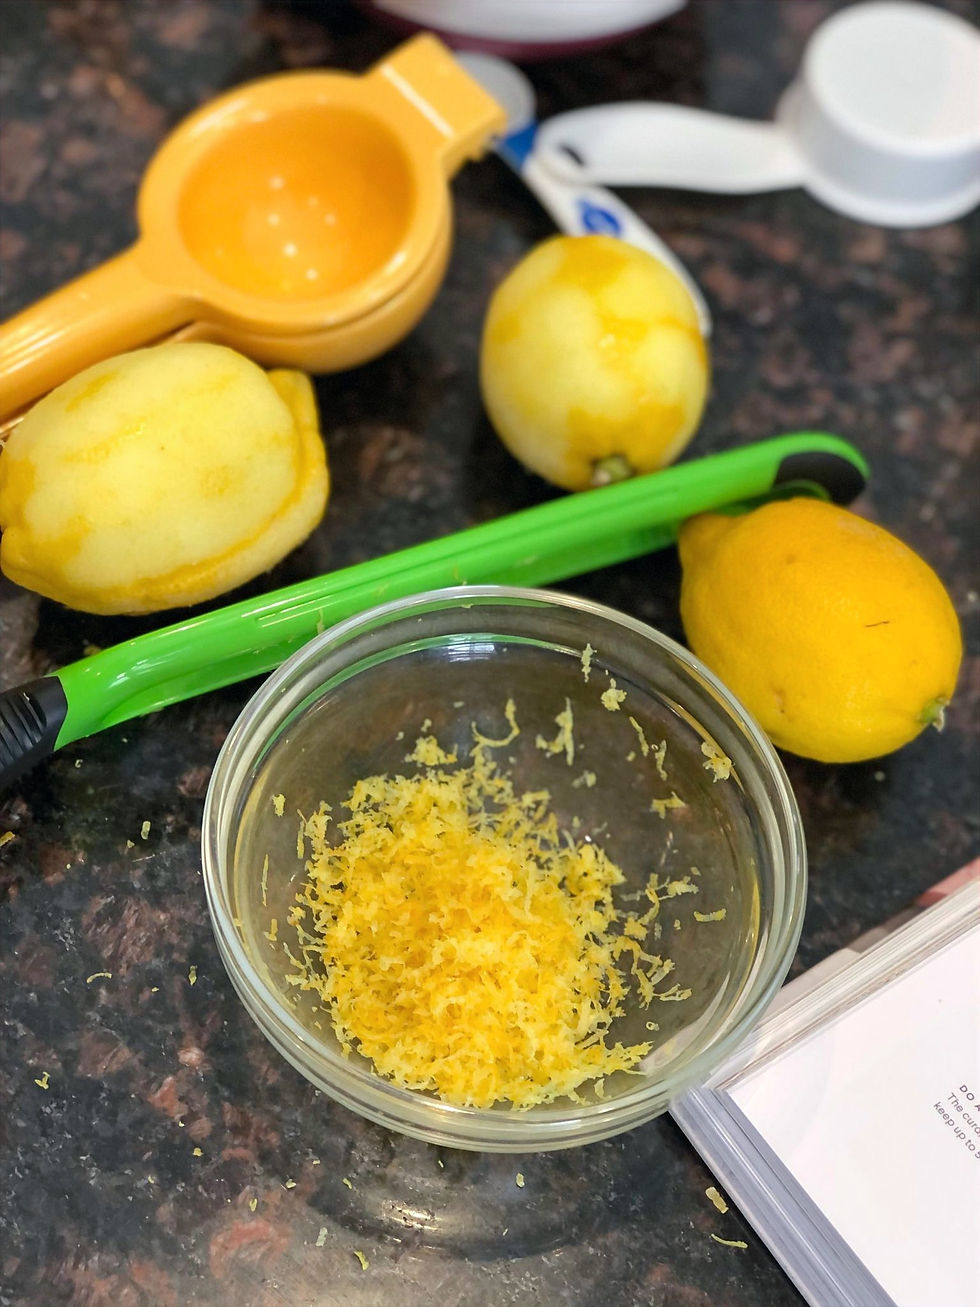
If you make the Lemon Curd and Sweet Tart Dough recipes ahead of time, this recipe really would be a breeze. Make sure, however, that you have 4 of 5 hours if you do it all at once. You’ll want to start with the Lemon Curd first. This was probably my favorite part to make. I think anytime a dessert has a bright color, it instantly makes it more fun to bake. I loved watching it all come together after starting from just eggs, lemon zest and sugar. Once you add in the butter, it all just starts making sense. Those are my favorite moments of baking.
After feeling all melancholy about the beautiful Lemon Curd that needed three hours in the fridge, I turned my attention to the Sweet Tart Dough. The first time around, this went okay; I roasted the almond flour as directed, but I completely missed the directions of where this was supposed to go. By the end of my entire day making this tart, the toasted, golden brown almond flour was still sitting on its tray on the counter. I believe this explained some issues I encountered further into the recipe.
Creating the dough with the food processor was simple, and after a half hour in the fridge, it was firm enough to cut into pieces easily. I bought a tart pan for this recipe, as I only had a springform pan with a removable bottom. I figured since I’ll be making more tart desserts, it was worth the investment. As I was forming the tart tough in the pan, I kept noticing how Claire was mentioning having scraps left when I was done. But that was just it…there were no scraps left to be had! I barely had enough for the whole tart to have a thick bottom or sides. I know this is partially because my tart pan was 10 inches, so there was more ground to cover. Then when I took it out of the oven, the bottom corner edges were completely cracked. Claire warned this may happen, but I did not have the extra dough to fill it in. I did have some extra Rough Puff Pastry Dough left from another recipe, so I let that get to room temperature and used it to cover the cracks as best as I could (these recipes have similar ingredients so I figured it would be fine for a couple small cracks).

After the first attempt at this tart, I felt the missing 1/3 cup of almond flour would have helped a little (hindsight is 20/20); but after the second attempt at this tart, I think you’re better off making a double batch of this dough. We’ll get back to this in a second.
Once the tart was done, I used blackberry lemon jam I had from Biscuit Love in Nashville (I miss that place so much) for the bottom layer. The fantastic color contrast between a dark jam with that bright yellow is rare to see in desserts. After that I placed the curd that I mixed with yogurt into the tart. I baked it for about 30 minutes. It seemed to match the look of the picture in Dessert Person, but the best way to know (sadly) is cutting into the gorgeous tart. We enjoyed it for family dinner that night, and it was a hit; however, I could tell it needed to be better set. I ran out of time to place it in the fridge to cool, which was a mistake. It likely would have turned out perfectly had I followed that last direction. Even though I knew I had completed the Meyer Lemon Tart, there were enough mistakes…and not enough slices left for a good picture…that I decided to try it again (the things we’ll do for a good photo).
So, on a Tuesday night, I decided to make the Sweet Tart Dough a day ahead so I could quickly put everything together the next day. I did remember the almond flour this time, but I still seemed short on the amount of dough. I decided to take matters into my own hands. I added about two tablespoons of butter, half a cup of flour, and a little more vanilla. This helped with the quantity of the dough, but chilling it a half hour did not make it very firm (I’m guessing because of the extra butter). I added more flour as I was putting the dough in the tart pan. I had just enough dough left for any cracks.

This tart seemed like it was sure to be a beauty…all up until the moment I tried taking it out of the oven after the first round of baking. With an oven mitt, I slightly pushed up the bottom part of the removable pan, the side burned my wrist, and within two seconds the tart was in shambles all over my oven. SHAMBLES! I started crying. Like a baby throwing a tantrum crying. My husband had to clean up the mess for me. It honestly was devastating. A baking bitch slap. I had just cleaned the oven the weekend before. And my wrist burn really did hurt! I cleaned up the kitchen and went to bed.

It didn’t take long to realize what I did wrong; I never put the tart on a baking sheet before putting it in the oven. I didn’t even think about it beforehand. But I can tell you I will never forget this step ever again while using a pan with a removable bottom!
The next day, I woke up knowing exactly what I was going to do; I was making a double batch of that damn Sweet Tart Dough, and I was going to get it right this time. And I’m happy to report, third time’s a charm. I had plenty of dough to make a firm bottom and sides in the tart, I made sure to bake it on a tray, and there were only some minor cracks that I easily fixed with the extra dough.


I made sure to be extremely careful placing the blackberry lemon jam layer in the tart, along with the lemon curd mixed with yogurt; the sides of this tart are always easily breakable no matter how it turns out. I let it bake for about 33 minutes this time, and then placed it in the fridge overnight.


And the next day, in that moment of truth cutting my Meyer Lemon Tart…it was perfect. Picturesque if I say so myself.

I have a feeling I might become an expert in making this dessert; I already have family asking for me to make it again. I loved the lemon flavor with the blackberry jam, but like many of Claire’s desserts, I’m happily satisfied with one piece. I will warn though, this, for lack of a better word, tart dessert may not appeal to everyone. In some ways it reminded me of the Ricotta Cake with Kumquat Marmalade. Most of the family was all for it, but my husband thought it was too much lemon. Eventually, I might see if this recipe would be good using limes or oranges as well.

This experience with the Meyer Lemon Tart has reminded me about the importance of learning. As much as it sucks to waste food and time making mistakes, that’s just a part of baking. It’s pretty much why so many people prefer to buy something premade at the grocery store. With something as minor as a Meyer Lemon Tart, I had to either give up or get it right. It’s refreshing to push myself to become a low-key expert in desserts, to test my abilities and say I need to try again. I think it’s important we all remind ourselves to do this throughout our lives with something we love.

I watched Claire’s video on this dessert after my first attempt; it was very helpful in acing the third!


Comments